- Quick Support Form
- [email protected]
- Live Support Chat
Creating Your First Notification
After registering with Easy Notif and verifying your pixel, you are now ready to create notifications. You can complete this process in three simple steps.
Step 1: Choose a notification
Step 2: Configure your notification
Step 3: Display your notification
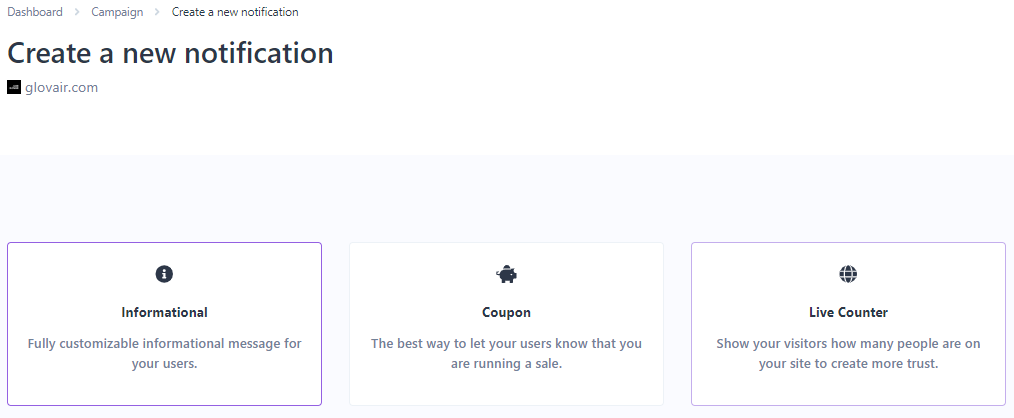
Step 1: Choose a notification
Regardless of your industry (eg eCommerce, SaaS) Easy Notif offers you more than 30+ notifications to use. You are free to use all notifications as you wish.
Click the New Notifications button and create your notification by selecting the notification from the page that opens.

Step 2: Configure your notification
Each notification has special configuration settings. Some notifications like Recent Sales Pop use real live data. You don’t need any data source for the Informational Pop notification in the example.
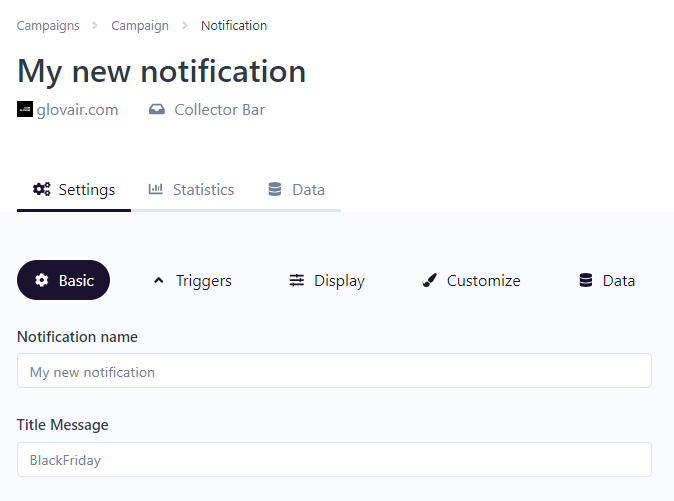
Configure your notification
Basic: You can change the data on the notification from this area.
Triggers: You can edit the display and device settings of the notification from this area.
Display: You can edit its position on the page, branding settings and how long it will stay on the page from this area.
Customize: You can edit the notification’s design and animations from this area.

Step 3: Display your notification
If you want to show the notification on a specific page or platform, you can change the settings in the Trigger area.