- Quick Support Form
- [email protected]
- Live Support Chat
Installing EasyNotif With Google Tag Manager
Installing Easy Notif with Google Tag Manager is very easy and takes a few minutes.
If you use Google Tag Manager, you can simply paste the Pixel in a Custom HTML Tag text-box without having to touch your website’s source code.
Follow these steps to install the Pixel with Google Tag Manager.
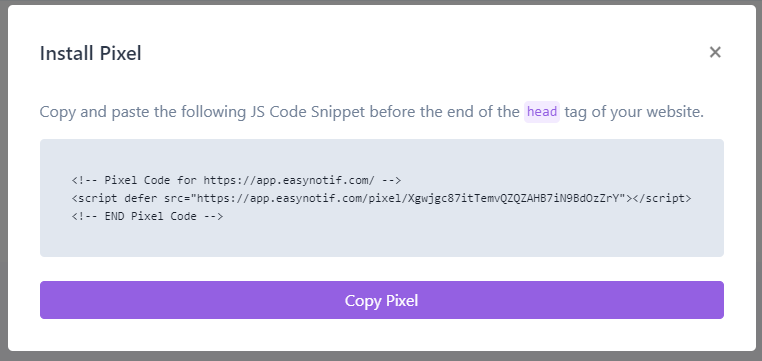
Step 1: Copy the Pixel from Easy Notif
Step 2: Create a new Custom HTML Tag on your GTM account
– Go to https://tagmanager.google.com and sign in with your Google account.
– Log in to your account dashboard by clicking on your project.
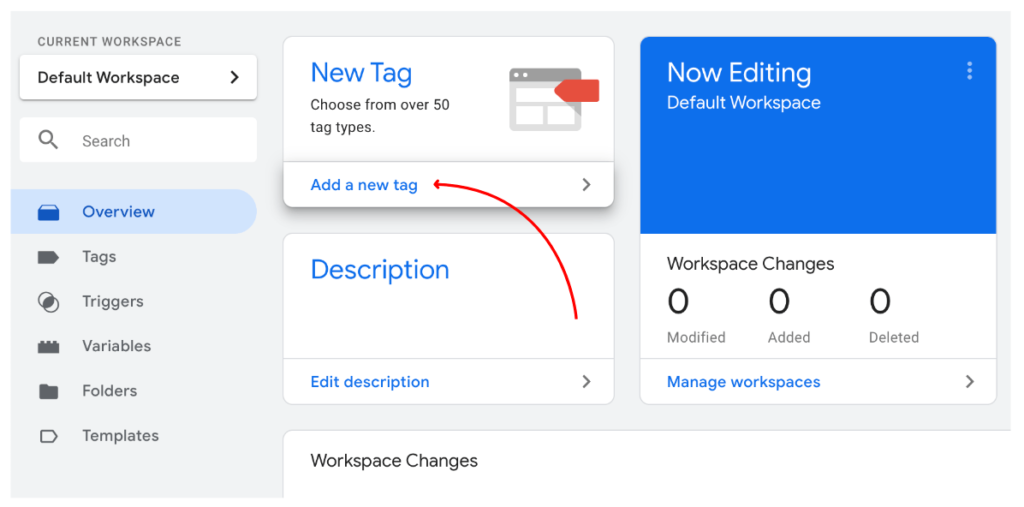
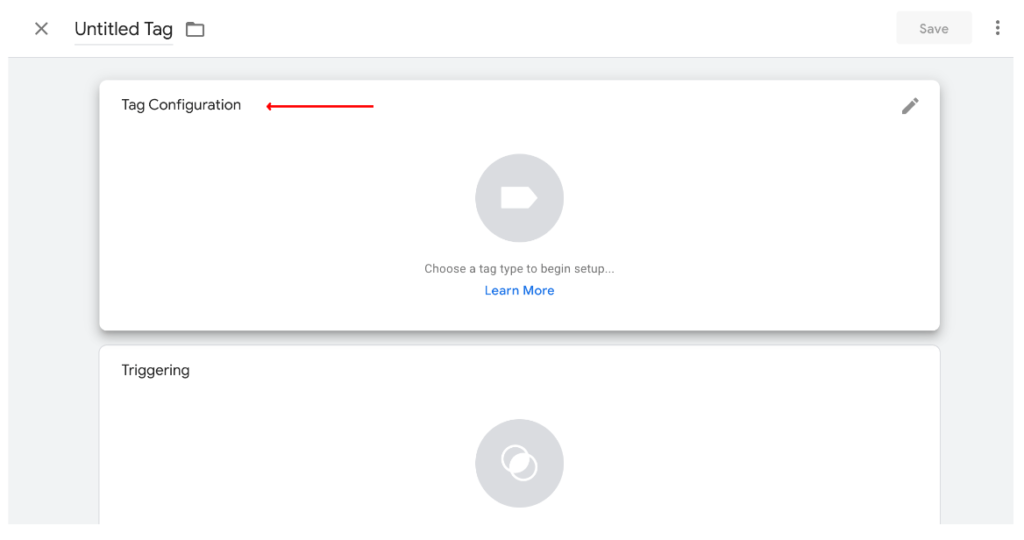
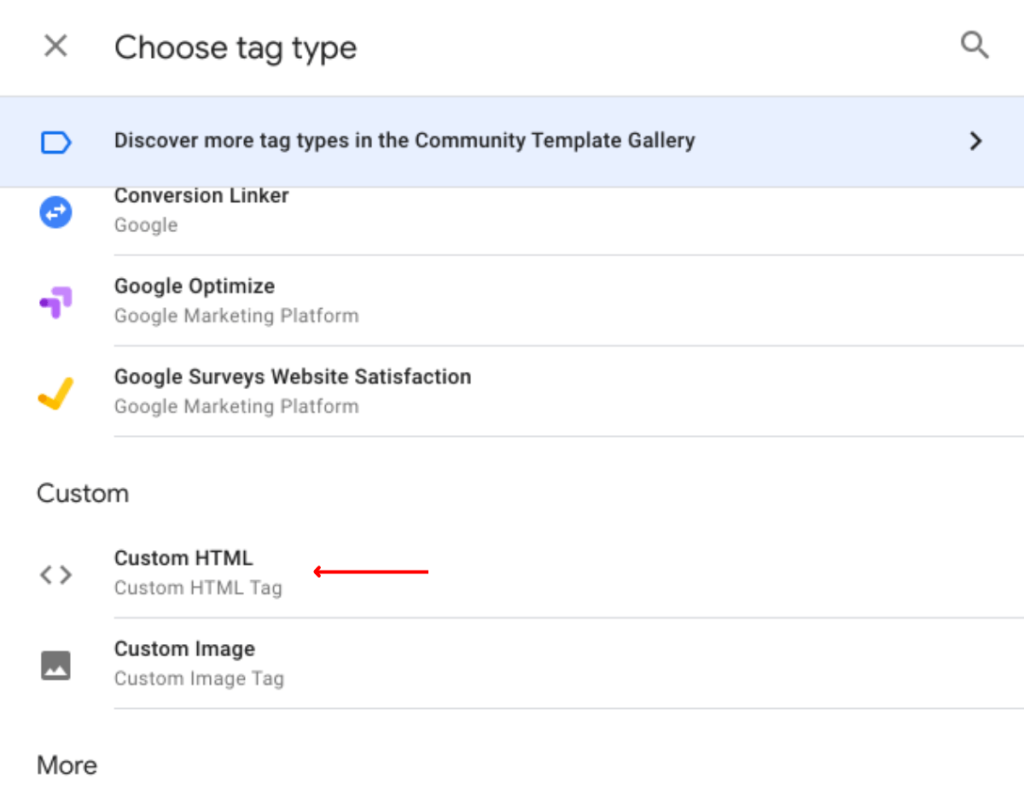
– Click on “New Tag” and then on “Tag Configuration” to choose a tag type.
– Scroll down to “Custom” and select “Custom HTML Tag”.
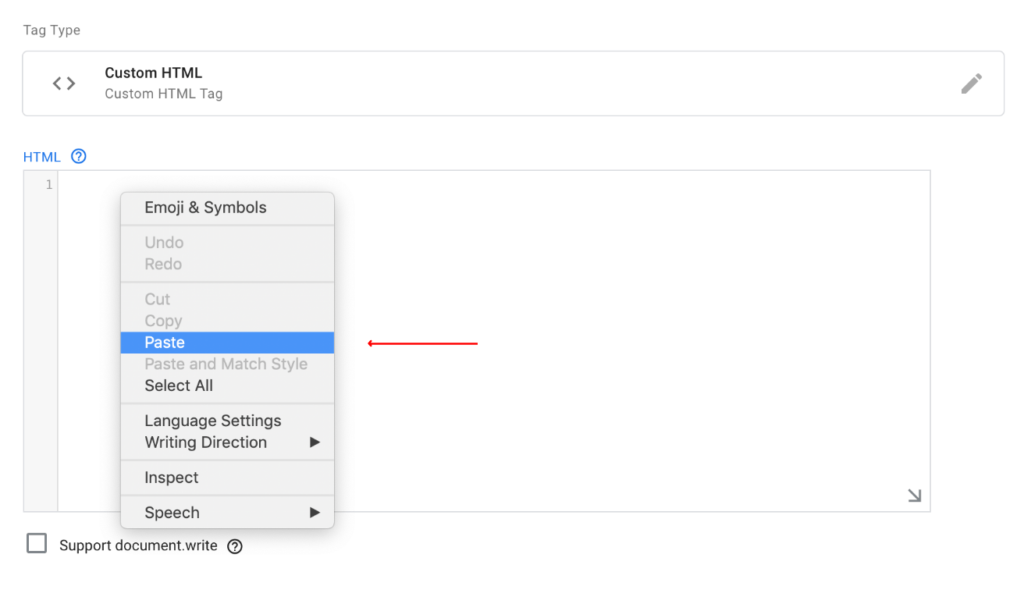
Step 3: Paste the Pixel in the Custom HTML Tag
You can paste the Pixel that you have copied from the text box on the Pixel page in Easy Notif.
Step 4: Add Triggers on all pages
– Add Triggers on all pages (this will ensure that the pixel will fire every time a user accesses a page).
– Click on “Triggering” and select “All pages”.
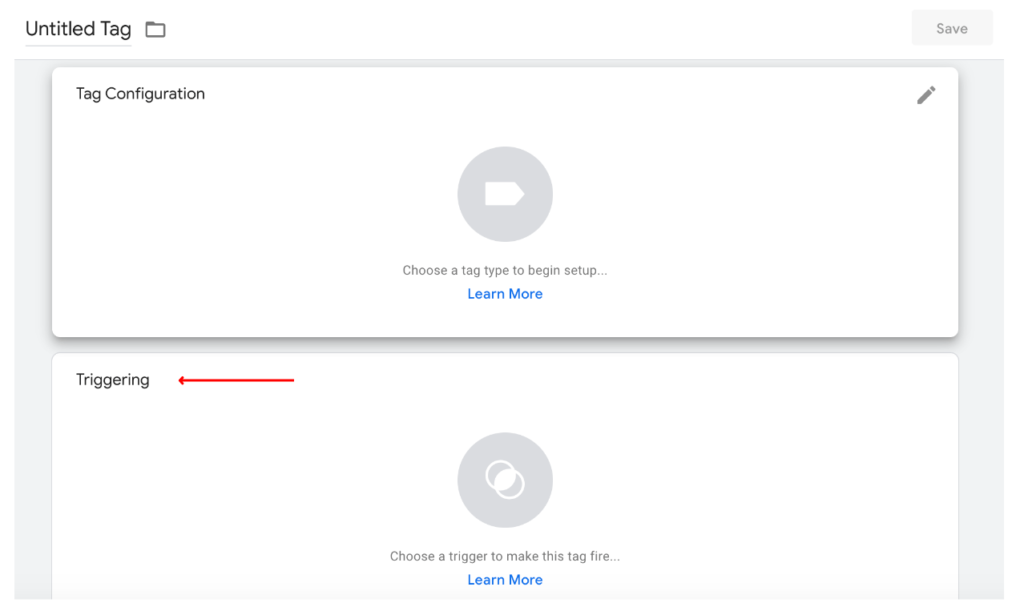

– Add the selection and save it.
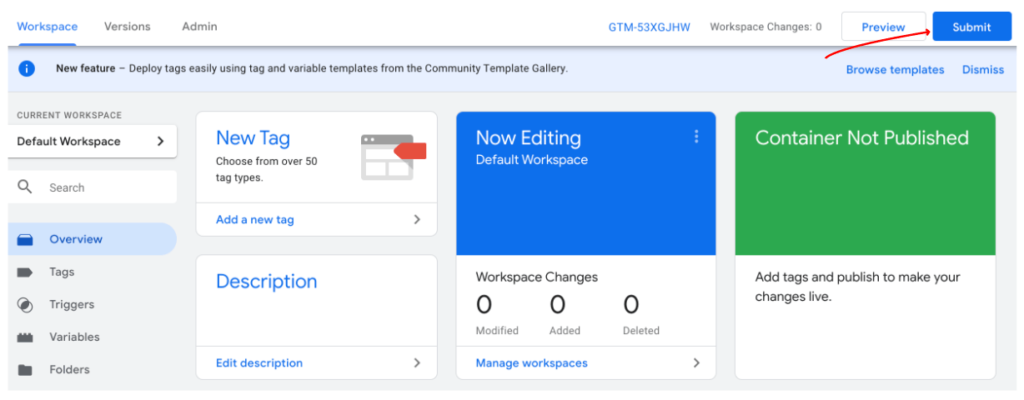
– After your Tag has been saved, you need to submit your new tags to the Google Tag Manager Pixel code. To do this, please click on the “Submit” button in the top right corner.
